|
|
ADVERTISEMENT
| Review: ASUS DRW-1608P2 |
ASUS was kind enough to send us their DRW-1608P2, which supports Double Layer and Dual Layer recording. The drive is based on Pioneer DVR-110D drive. In this article we will show the performance of ASUS DRW-1608P2 by running the drive through numerous tests on various CD/DVD media.
Corporate Information:
We found the following information on the ASUS website:
|
| |
| ||
| Corporate Mission | ||||
| |
|
|
| |
| | ||||
|
|
|
|
|
|

|
| |
| |||||||||||||||
| Management Philosophy | |||||||||||||||||
| |
|
|
| | |||||||||||||
|
|
|
|
|
| |||||||||||||


Drive specifications:
Now let us take a look at the specifications of the ASUS DRW-1608P2.
| Write Speed | DVD-R: 16X, 12X, 8X, 6X, 4X, 2X, 1X |
| Read Speed | DVD-ROM (Single): 16X max. (CAV) |
| Random Access Time | DVD: 130 ms and CD: 120 ms |
| Writing Mode | DVD-R & DVD-R (DL): DAO, Incremental Recording (Multi-Border Recording) |
| O/S Compatibility | Windows XP/ NT/ ME/ 2000/ 98/ 98SE |
| Interface | Enhanced-IDE (ATAPI) |
| Data Buffer | 2 MB |
| Bundle Software | Latest NERO Burning Software |
| Disc Formats | Write: DVD+/-R, DVD+/-RW, CD-R, CD-RW |
| Disc Diameters | 12 cm and 8 cm |
| MTBF | 60,000 Power On Hours |
| MTTR | 30 Minutes |
| Mounting Orientation | Vertical and Horizontal (+5° ~ -5°) |
| Dimension (W x H x D) | 148x42.3x180 mm |
| Weight | 1000 g |
| Power Requirements | DC +5V ± 5%, DC +12V ± 10% |
| Temperature | Operating: 5° to 45° |
| Humidity | Operating: 5% ~ 85% (Non-condensing) |
| Vibration | Operating: 0.2 G peak (at 10~500 Hz) |
What's inside the box?
The drive we received was a retail package and comes with everything you need for quick and easy installation. The retail package includes the following items:
- The internal ASUS DRW-1608P2 drive itself
- Quick Installation Guide
- Nero Burning ROM OEM Suite software disc
- Ulead DVD MovieFactory 4.0 Suite SE software disc
- IDE Cable (2 connectors)
- 4 Screws and emergency eject clip
- Audio cable
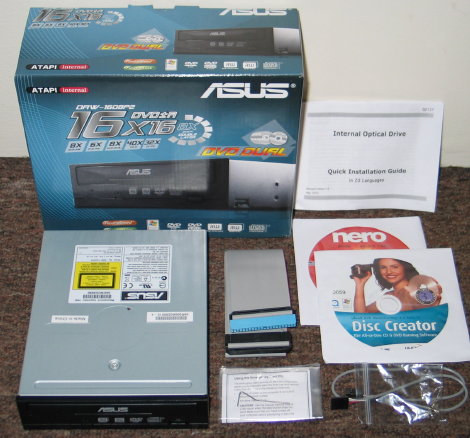
Retail package
As you can see, the package contains almost everything you need to get started.
Now let's take a look at the details on the retail box:
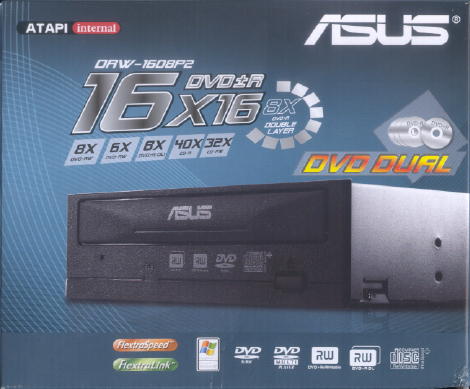
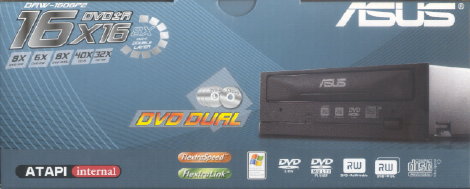
Box Front
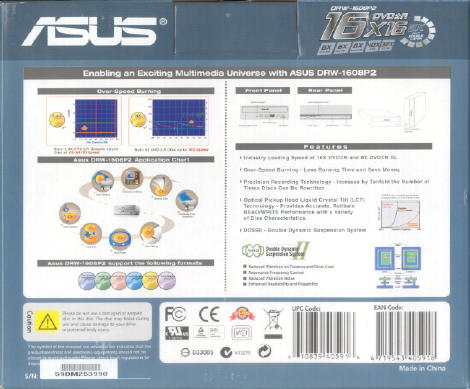
Box Rear
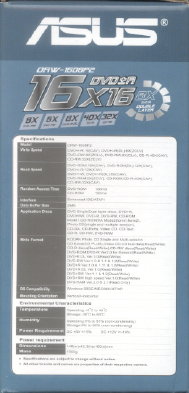
Box Left
Box Right
Box Top
Box Bottom
Now it's time to take a look at the drive itself:
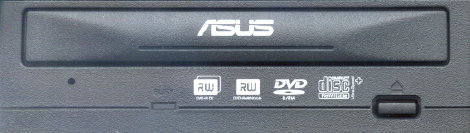
Front Bezel
The drive tray has lines and contour and it looks pretty nice. On the left of the bezel there is an emergency eject hole, to the right there is an busy LED indicator. Then the logos are DVD+RDL, DVD Alliance (DVD+R/RW) logo, DVD Forum (DVD-R/RW) logo, Compact Disc Ultra Speed Rewriteable logo and finally at the far right is the eject button.
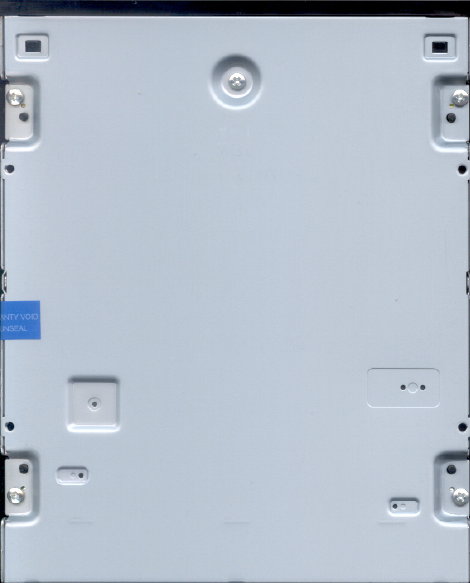
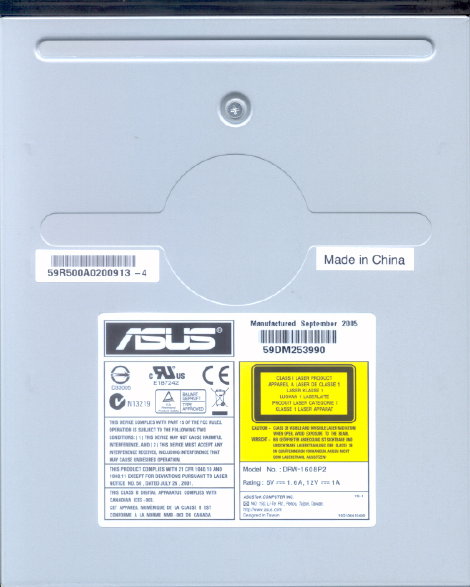
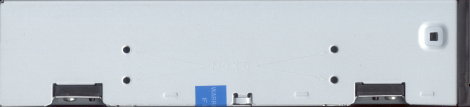
Bottom
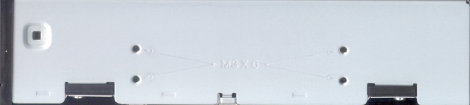
Top
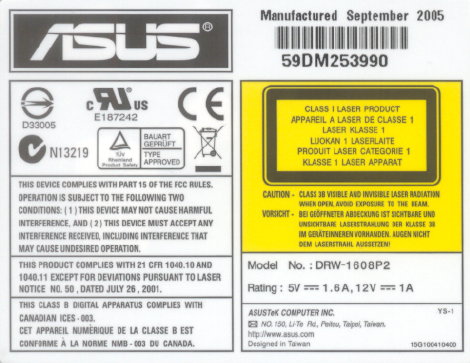
Drive Sticker
On the bottom of the drive we found a sticker that shows has a production date of September 2005 and another sticker Made in China.
Drive Right
Drive Left
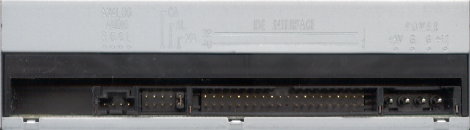
Rear
From left to right: digital audio connector; analogue audio connector; environment setup jumpers to set the drive to cable select, slave or master; IDE connector and finally the power connector. Jumper setting from the sample drive we received was set to Master.
Now, let us connect the drive and check out the features, program bundle and writing technology of this drive on the next page...


 - Find Out How to Apply")


